Showing posts with label Design Team. Show all posts

19 March 2015

DSC #132 - Anything but a Card or Layout

It's Friday! time for a new challenge at Digitally Sweet Challenges! Our lovely sponsor is Bugaboo Stamps and you could win some free digis. Just follow our theme of Anything but a Card or Layout and using some digitally images and you're good to go! This challenge runs to the end of the month so you have plenty of time to enter.

Here is an inspirational image created by me as part of the design team...I made a menu:


I know it's hard to read but it's basically what I ate yesterday...lol. As I might have mentioned, I follow a plant based diet also known as Vegan. So everything on my menu is yummy and oh so good not only for you but great for the animals too! I took the cute Bugaboo Stamps image called Frame It - Stella - todays menu, and coloured it with my Copic Ciao markers in red, oranges and yellows. I matted it an the menu I created on orange, white and red cardstock. I didn't add any doo dads to it because it didn't really need nay. The colours made it look great on its own...lol. Here is the menu if you can't read it:

BREAKFAST:
1/2 a Pink Grapefruit
Bowl of Oatmeal swirled with Vegan Raspberry Jam (no gelatin)
small glass of unsweetened almond milk

LUNCH:
Mixed Baby Leaf Salad with dairy free pesto dressing 
Smooth and creamy (no dairy) Gazpacho soup (raw - made in my blender)
Berry Blast Iced Tea

SNACK:
2 large Rice Cakes with Caramelised Onion Hummus
Sliced Cherry tomatoes and chopped Cilantro on top

DINNER:
Curried Lentil and Butternut Squash Stew (made myself)
Served on a bed or Coriander Rice
Side of Purple Broccoli Stems (steamed)
Water with Lime Wedge

06 March 2015

DSC #130 - Font Talk

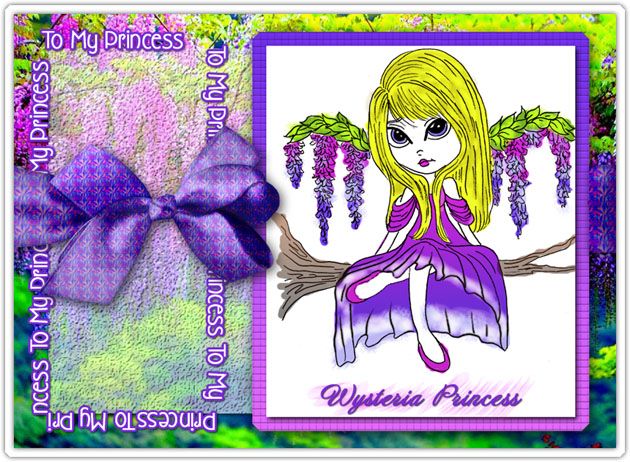
Welcome to your weekly challenge over at Digitally Sweet Challenges! I'm a Design Team member and tis week we made projects for our theme "Font Talk" which mean to show off your use of different fonts. Our lovely sponsor is Lacy Sunshine Stamps and we were each allowed to use one of her designs...I chose to do a digital image with this beautiful Wisteria Etherial Enchantress:

I have fond memories of a huge wisteria that grew in my side yard growing up in New Jersey. My sisters and I used to play underneath it in the summer as it was hollow under all the leaves and blooms. It was cool under there and it was like being in a fragrant cave. It smelled soooo lovely. Only down fall was fighting all the bees to get inside...lol.

I sure hope you will join us over at Digitally Sweet. You will have the whole month of March to enter this challenge...ain't that cool? Can't wait to see what you create showing off your favourite fonts!

27 February 2015

The Hybrid Chick - Mini Album

Hi all. I would love it if you would go check out my very first hybrid craft project that I posted over on The Hybrid Chick blog.

http://www.thehybridchick.com/2015/02/sweet-anemone-mini-album/

I created this mini album using a beautiful digital scrapbooking kit called "Sweet Anemone" by Paper Garden Projects. I have a step by step posted there. I sure hope you will have a peek!

Happy (Hybrid) Crafting!
Hugs, Dorothy

DSC #129 - Anything Goes!

Ooooh yes..I love an anything Goes challenge and that's what we have for you this week over at Digitally Sweet Challenges! Our sponsor is Lunagirl and she provided us on the Designs Team with some gorgeous images to work with. I created a card. It's basic but my new printer really made the images look fab:


I started with a pale pink pearlised card base. I also had some matching pink pearlised paper to mat the girl image on. I mounted the flower frame background image on brown cardstock and edged with Vintage Photo Distress Ink. I went to town with fine glitter and added it all over the backing image. I also highlighted the pink flowers in the girl image with the glitter. Then as embellishments I added 3 pink buttons a pink stick pin pearl, a swatch of lace and added lace along the opening side of the card. There are also some glitter pen pearls as well. It came together quick but looks quite nice.

We hope you'll join us over at Digitally Sweet and enter a challenge this month...this on is the last for February so look for our Feb winners!

20 February 2015

DSC # 128 What's In your bag?

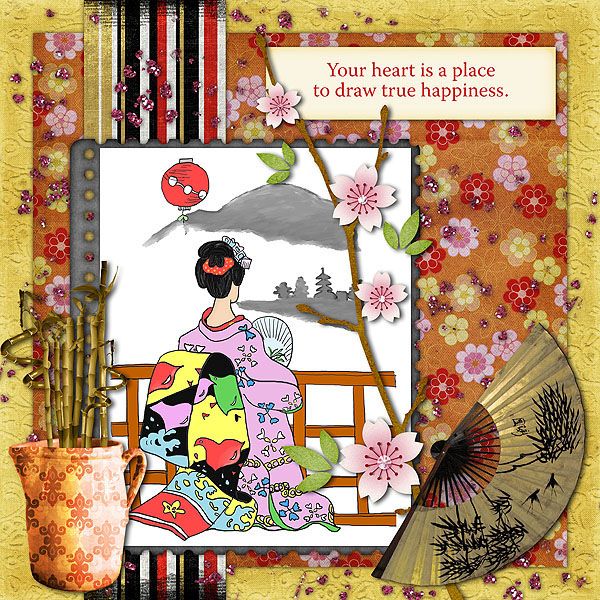
It's time for another weekly challenge at Digitally Sweet Challenges and our theme is this week is called "Whats in your bag?" Do a project that tells us something about what you keep in your handbag. Our wonderful sponsor this week is Stitchy Bear Stamps and we were allowed to pick a stamp to work with. I chose an Asian theme...here is a digital card front I created in Photoshop:


Wonder why I chose this stamp and what it has to do with what I keep in my bag? Welllll I actually keep a set of chopsticks in my bag on the back of my wheelchair. I like to use them when we go out to eat Chinese. They're plastic so I can wash them at home and reuse. LOL To set off the Stitchy Bear's "Kyo"  already coloured digi stamp, I also used a few kits from an old blog train called "The Orient" made by The Blog Train Blog. It's from 2010 but you might still be able to find some of this kit still available!

I hope you will join us at Digitally Sweet! Don't forget to check out all the February challenges because you can enter any of them until the end of the month to win!. Have yoursef a fabulous day and thanks for visiting me!

Happy Crafting!
Hugs, Dorothy

13 February 2015

DSC # 127 - Layout Sketch

Welcome to another Friday challenge at Digitally Sweet Challenges! This week our theme is Layouts and we give a nice sketch to use as a reference. I love sketch challenges and to see how it can be interpreted so many ways. Our lovely sponsor is Scrappiness Designs.

Here is the layout I created:


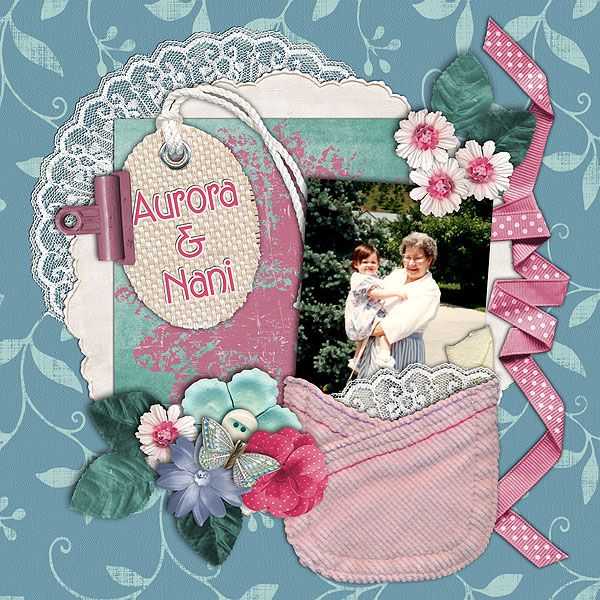
I used the digital scrap kit called "Make Me Smile" from Scrappiness Designs to create this layout of my daughter, Aurora, and her great grandmom whom she called Nani. The pastel colours of this kit really matched the pastel colour in the photo. It was done completely in Photoshop using only the one digi kit.

Thanks so much for visiting my blog and having a look at my DT project. I do hope you will join in the fun for this week's challenge but DON'T forget...all our challenges run to the end of the month and there are 2 other challenges still going and it's not too late to enter our Colour Challenge and Anything Goes challenge too! Best of luck!

Happy Scrapping!
Hugs, Dorothy

06 February 2015

DSC #126 Colour Challenge

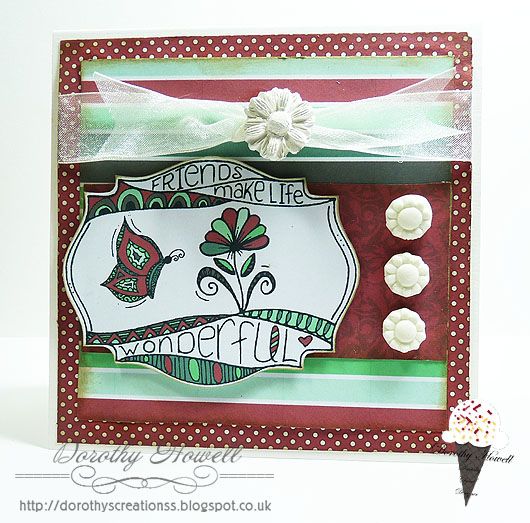
Happy Friday!!! It's time for a new weekly challenge at Digitally Sweet Challenges where hybrid crafting reigns! LOL This week our theme is a colour challenge. Go over to Digitally Sweet to see the colours. Our lovely sponsor is Sparkle n Sprinkle and here is a card I made for my DT project:


I ttok the Friends image into Photoshop and colourised it using the colour for the challenge. I then made three background papers using the same colours: the fine dotted paper, a multi stripe paper and a deep red slightly damask pattern paper. I printed then cut everything out. I arranged the matted layer after distressing the edges with Old Paper Distress Ink. I added a sheer ribbon and knot and moulded flowers that I made with air dry clay and moulds. So easy.

SUPPLIES USED

Zendoodle Friends digital stamp set - Sparkle n Sprinkle
Papers created by me in Photoshop
Ribbon and cly flowers from stash.
White card base from stash

I do hope you qill join us over at Digitally Sweet Challenges this week!

Happy Crafting!
Hugs, Dorothy

04 February 2015

#282 - Owls, Hearts, Love

YEAH...it's time for a new challegne at Crafty Creations Challenges! Our theme is "Owls, Hearts, Love" and we ask that you use owls and/or hearts in your creations for this challenge. Our terrific sponsor is:

https://www.etsy.com/shop/CrochetFlowerShop

You could win something cool from them too all you have to do is join in the challenge! Here is my Design Team project. I went with hearts and I used one of CFS Designs digis on it:


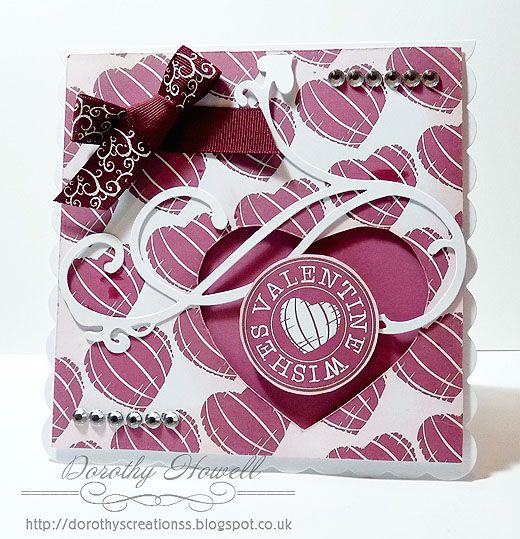
I used a CFS Designs sentiment with the heart in the middle and took it onto Photoshop. I took the heart. created my own matching backing paper and colourised the sentiment. I also made a small panel of the burgundy colour as well. I printed them on thin cardstock and cut them out then added some Distress Ink in Spun Sugar around the edges and around the cut out heart. I added the solid colour panel underneath then I raised up the heart paper using 3d foam pads on a scalloped card base. I added the sentiment in the centre of the heart by doubling up the foam pads. Finally I added bling gems, a die cut swirl and a dark swirl printed ribbon.

SUPPLIES USED:
Valentine Wishes sentiment - CFS Designs
Distress Ink in Spun Sugar
Backing paper created using sentiment heart in Photoshop by me
Scalloped car base, gems, ribbon and swirl from my stash.

CHALLENGES ENTERED:
Glitter n Sparkle Challenges - Anything Goes
Dream Valley Challenges - Valentine's Day
Scribble and Scrap Challenge - Anything Goes
That Craft Place Challenge - Anything Goes
Crafting From the Heart Challenges - Anything Goes
Through the Purple Haze Challenges - Anything Goes
Whoopsi Daisy Challenges - Pretty in Pink
Crafty Boots Challenges - Hearts and Valentines
Crafty Sentiments Challenge - Include a Heart
Papertake Weekly Challenges - Anything Goes
Digi Choosday Challenges - In the Pink
Creative Inspirations Challenges - Love is in the air
C.R.A.F.T. Chalenges - Valentine's Day
TIME OUT Challenges - Valentines with twist hearts
Creative Fingers Challenges - Anything Goes
Wags n Whiskers Challenges - Hearts
Eclectic Eliapu - Burgundy/Red, Ivory/Cream and Hearts
Paper Creator's Challenges - Love is in the Air
Buckwells Crafty Challenge - Love/Red
Craftyhazelnut's Patterned Paper Challenge - Anything Goes
Natalie and Amy's Challenges - All About the Love


Hope you will join us at Crafty Creations Challenges! thanks for having a peek and my card and as always...

HAPPY CRAFTING!
Hugs, Dorothy

02 February 2015

Big News is Here!

I AM A...

http://www.thehybridchick.com 


Just over a week ago I posted here that I had some big new coming...well this is it! You all know how I love using digital images in my crafting, welllll the digital scrapbook shop, The Digichick, has a sister site that specialised in just this, hybrid crafting, called The HybridChick! I have been receiving their newsletters for literally YEARS and I've wanted to be a part. They currently have a call to join the Hybrid Chick creative team, I applied and they picked me!!!!!!

I am soooo honoured to be a part because the current team is so amazingly awesome. I just hope I can make them proud. I'm picking out a digi kit to work with and figuring out a project to make. Oooooo I'm excited! I hope you all will also love looking at my projects I create for them.

If you love using digital goodies to craft with, then you can join as well! We are still looking for a few more crafters and would love to see your work! Below is the call info and how to apply.

 
Even if you don't want to join the team, why not just check out the site for some terrific crafty ideas? I'm just settling in over there and I hope to have a project ready for February, probably not Valentine-y but still fun...I hope! LOL

Thanks for reading and Happy Crafting!

Hugs,
Dorothy

23 January 2015

DSC #124 Anything but a Card or Layout

Happy Friday ya'll! Hope you had a good week and are ready for a new challenge over at Digitally Sweet Challenges. Our terrific sponsor this week is Lacy Sunshine and you could win some awesome images from her. All ya gotta do is enter a project using digital and it can be anything but a card or layout. I made a bookmark:

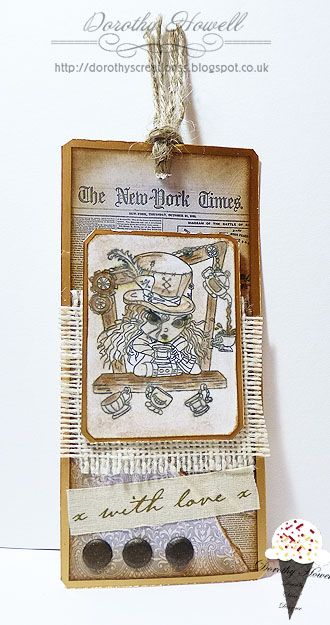
I don't have lots of embellishments on it as I wanted it to lay flat in a book. Yes I still read REAL books too...lol. I first coloured in the Lacy Sunshine image using Vintage Photo Distress Ink with a waterbrush. I also printed out some other papers from Far Far Hill. It's all matted on this matt gold mirri boaRD I found in my stash.  I added jute twine on the top and some frayed burlap under the image. I finished off with some dark brown card candies and some fabric tape that says "with love."

SUPPLIES USED:
Maddie Haddie Steampink Secret Window digi stamp - Lacy Sunshine Stamps
New York Times and Damask digital papers - Far Far Hill
Jute twine and Burlap - Poundland (UK)
Distress Ink - Vintage Photo

Gold mirri board, card candy, fabric tape - from my stash


21 January 2015

#281 Something Old Something New

It's time for a new challenge at Crafty Creations Challenges! I like this type of theme as it gets me diggin through me stash. We hope you will join in the fun and enter. Use something new and something old on your crafty goodness and you could win goodies from our sponsor Fresh Brewed Designs!

Here is my Design Team project for this one:

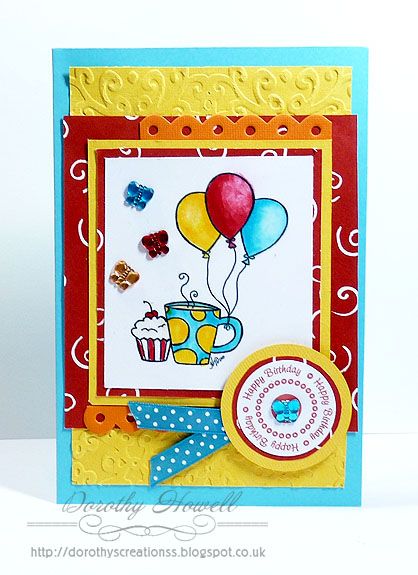
Bright ain't it? LOL i used a cute little image provided by our lovely sponsor and created this A6 birthday card. I coloured in the printed image with my trusty Copic Ciaos and matted it on yellow and red. I created the sentiment myself in Photoshop. Now here is how I stuck to the theme Something Old Something New:

NEW
The image and the embossing folder I used on the yellow card background. I just bought a whole bunch of dies and embossing folder from the Sizzix.co.uk site as they were having a huge sale of up to 80% off!!! I ordere 10 items and they only came to just over £17.00. Regular price would have been almost £90. Amazing right? Yellow cardstock from a big pack of American Crafts cardstock I got a TK Maxx.

OLD
Lots of mouldy oldies here...lol. The blue card base I've had for over 7 years. The red swirl paper was bought when I first started scrapbooking...gosh almost 10 yrs ago! The butterfly gems and blue dotted ribbon again bought when I first started making cards about 7 yrs ago

SUPPLIES USED:
Image #20 Latte Party from Fresh Brewed Designs
Yellow Cardstock - American Crafts Big Card Pack (Tropical pack)
Embossing Folder - Sizzix Textured Impressions set of 2 A2 folders Trellis and Swirls (I used Swirls)
Spellbinders Dies in Regular Circles
Copic Ciao Markers
Ribbon by Craft Works in a 4 ribbon pack in blues.
Blue Card Base, Red Swirl paper, Butterfly gems are all from my stash

Thanks for looking and I do hope you will join us at Crafty Creations Challenges!

Happy Crafting,
Dorothy

16 January 2015

DSC #123 Dance Like Nobody's Watching

I'm still trying to get back into the swing of things here but I finsally got into my craft room. it's still a mess, it still needs lots of reorganising but i made a little path for me to get in and make something. I had a hard time finding stuff (like my ATG gun which I still cannot find thanks to my daughter) but I found enough to make something for our challenge this week over at Digitally Sweet Challenges!

Our lovely sponsor this week is Lunagirl! I love love love her images and she let us have a few absolutely gorgeous dancing ladies to use for our projects. Here's my card:


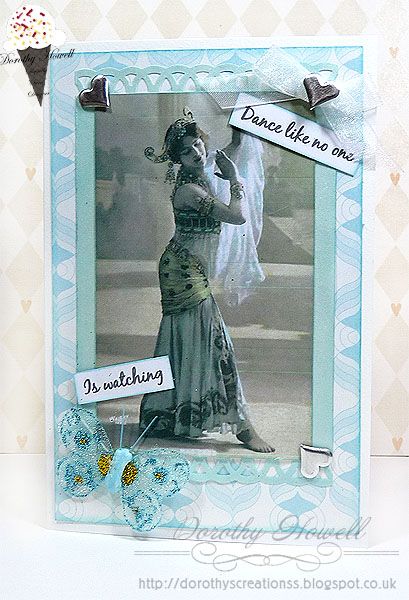
I started with a premade card blank in white then added papers and embellies from my stash. I loved this theme and images as an ex-bellydancer...lol. Hope you like my card and will join us for this week's challenge at Digitally Sweet!

SUPPLIES USED:
Lady image from Lunagirl
Sentiment created myself in Word
White card blank from stash
Blue pattered paper and blue pearl paper from my stash
Ribbon Bow from stash
Distress Ink in Tumbled Glass
Fiskars border punch looped border
Impex Heart stickers
Trimits Paper Crafts blue glitter butterfly

Thanks for having a look!

HAPPY CRAFTING,
Dorothy

09 January 2015

DSC #122 Layouts Only Week

Hi there everyone! I know I took a long break over Christmas but it was necessary...I'll leave it at that...lol. But welcome to 2015 and we have a new challenge up at Digitally Sweet Challenges so come check us out!

as a reminder, Digitally Sweet requires that you use some type of digital image in your crafting. We have a new sponsor so we decided to add a LAYOUTS ONLY challenge to our line up. You can only make some sort of digital scrapbooking layout, it can be a real life page or a digital one but you must use a digital image by either printing it out or doing the whole thing in some sort of program.

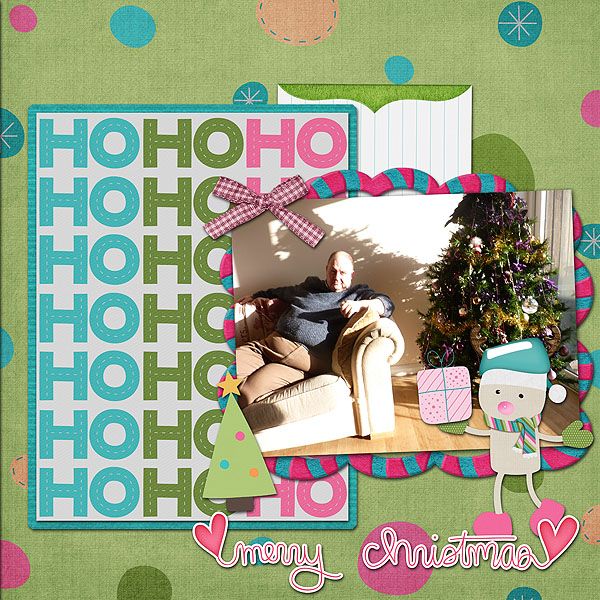
Our sponsor is the lovely Scrappiness Designs and here is what I created using her kit called "Happy Noel."

This is a Christmas photo of my hubby and our Christmas tree in 2013. The ole hubs has lost weight since then and we also have verticle blings on our glass door now. But it was a nice sunny winter's day...lol...a rare thing here in the UK.

I do hope you will join us for this week's challenge at Digially Sweet and thanks for visintg me.

Also...Have a HAPPY 2015!

Peace & Blessings, Dorothy

10 December 2014

#278 Something to "Die" For Challenge

It's time for a new challenge at Crafty Creations Challenges! Our theme this fortnight is Something to "Die" For. To enter you will need to use some sort of die cuts on your project...who doesn't love dies?! Our lovely sponsor this week is Robyn's Fetish Stamps and you could winn some awesome digital images. I made a card for this DT project:


Just a simple winter time card as I just loved this digital stamp. I don't own a whole lot of dies yet but I did have one that looked kind of snowflake-like. I coloured the digi stamp with some plain coloured pencils as I wanted only a faint bit of colour. I toyed with leaving the stamp uncoloured but when it went together it really did need a little bit to tie it all in.

SUPPLIES USED:
In the Cold digi stamp - Robyn's Fetish Stamps
Backing paper - free gift from an old Papercreafter magazine, BoBunny paper set.
Snowflake dies - Spellbinders Ironwork Motifs Die
Pale blue twine - Papermania 3-Piece Capsule Collection Spots & Stripes Pastels Bakers Twine

Old Paper Distress Ink
White grosgrain ribbon bow - from stash
White scalled card base - from stash
Sentiment created by me

Hope you will join us for this challenge!

Happy Christmas Crafting!
Dorothy

05 December 2014

DSC #117 Sentiment as Main Focus

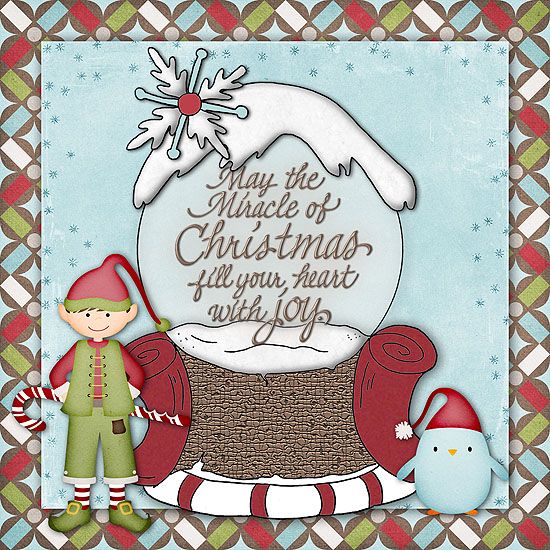
It's time for this week's new challenge at Digitally Sweet Challenges! This time our theme is to use a sentiment as the focus of your project. Our awesome sponsor this week is Lacy Sunshine Stamps! Don't forget to use something digital in your creations. I did another digital image this week, a card front:


I whipped this up in Photoshop with the very cool snowglobe digi stamp form Lacy Sunshine and a cute digi kit freebie from Cinnamon Scraps. If you click on the link it takes you right to the page to download the scrap kit yourself.Have yourselves a fantastic day and hope you will join us at Digitally Sweet Challenges!

Happy Crafty Christmas!
Dorothy

01 December 2014

December Challenge at Bearly Mine

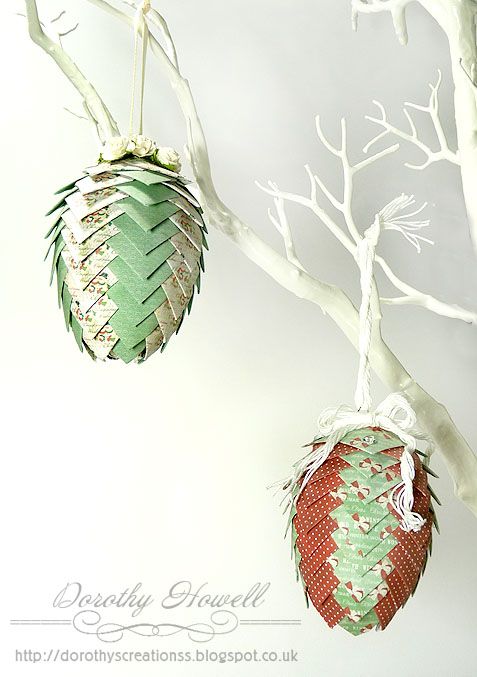
Welcome to the very last challenge for Bearly Mine Challenges. As I mentioned in yesterday's post, Bearly Mine is closing their door because of new EU ruling starting 1st January. Our challenge for December is Christmas Decoration or Ornament (no cards.) So let's see some gorgeous Christmas project entered in our challenge this month! Here is what I made, pinecone ornaments:

I saw this video by Mari Hop and thought I would give it a go using Bearly Mine digital papers from the Christmas Traditions 2 pack. Here's what I did:

Supplies to make ONE pinecone:

Styrofoam Egg (I used 80 mm eggs but next time I will use smaller ones)
2 x A4 or Letter sized sheets of designer paper, 2 different designs that coordinate.
Paper trimmer
Tacky Glue
Stuff to decorate the top of you egg
Ribbon to hang egg
Long Eye pin and large jump ring for hanging.

Directions for this larger size pinecone:

-Take your designer paper of choice and I cut them into 1 1/4" inch pieces. Keep the pile of each design separate. (In fact for my large size eggs next time I'll be making the squares 1 1/2" or most likely 1 3/4")
-One one of the square pieces, take two of the corners and fold them in halfway to about a 45 degree angle so there is a point on one side and the regular square on the other. Do this to all of the little squares.
-Start at the narrow end of the styrofoam egg, use 4 of the folded in squares in one pattern and line up the points to cover the bottom of the egg, glue them on with tacky glue, if it's a good one you shoudn't have to hold them in place too long.
-Then using the other pattern, glue 4 more on the square end on the paper piece only and glue it on making sure the pointed bit goes INBETWEEN the first row.
-Continue doing this all the way up the egg to the top.Using my sizes it will take between 36 to 40 pieces in each of the two paper designs.

How to hang:

-Before I added my flowers and bows to the top of my pinecone, I took a long eye pin for making jewellry, added a large jump ring to the eye and pushed it into the top through the paper and styrofoam. It went in quite easily. I took it out again, added tacky glue to the length of the eye pin and pushed it back into the pinecone for added strength.
-I added ribbon through the jump ring and knotted. Then I went about adding flowers and string bows to the top of my pinecones. You could add leaves, flowers, artificial pine boughs, gems, pearls, foam, die cuts, etc.

Of course if you cannot understand my directions, the Mari Hop video will help you out alot so check it out. These ornaments are easy to make and also are very light. They won't fall off the tree because they are too heavy...lol. The pinecones are also fab children's projects great for school, boy scouts, church groups, etc. You could cut up all the little squares in advance out of anything, even newspaper, craft paper or printer paper. My next one if going to be out of old book pages with lots of cream lace!

Hope you enjoyed...and also hope you join us for this month's challenge at Bearly Mine Challenges!

Happy Christmas Crafting!
Dorothy

29 November 2014

Bearly Mine Sale Starts Today

 The 50% Closing Down sale starts TODAY at Bearly Mine Designs:

http://bmd-creations.blogspot.co.uk/

I regret to inform you that Bearly Mine Designs will be closing their doors on December 31st. New European VAT laws are causing the closure of many small digital businesses here in the UK and all over Europe. If you sell digital goods to a European customer, you HAVE TO charge them the customer's country's VAT (sales tax) rate and each country is different. This is extremely difficult to do as there is no shop program that can do this yet. So Bearly Mine Designs is a victim of these new rules. Thing is, even if your digital selling website is outside the European Union, you still have to charge European customers their VAT rate on top of their purchase..even if your online store is in China, USA, Canada, Brazil, etc. Don't know how that is going to happen but that's what the EU is saying. The first thing I thought when I heard about this new law/rule is, "How can they enforce this outside of the EU?" I still do not know but my hope is that it's a disaster and they cancel this requirement so more small businesses selling digital goods do not disappear from the web like this.

From today until the 31st December you can save 50% off all digital sets at Bearly Mine. Please show your support by having a visit and purchasing your favourite sets.

28 November 2014

DSC #116 - Anything Goes

Happy Black Friday all! I sure hope everyone in the US had a terrific Thanksgiving Day! Hubbs and I had a cozy little Thanksgiving here in the UK. My British hubby likes us celebrating this holiday since I'm American. He likes turkey dinners but tonight it was a simpler meal than I would have made if we lived back in America. Plus being just the two of us and I happen to be Vegan. I roasted him a big turkey breast though and there is plenty leftover for his sandwiches the next couple of day and for the dogs to have a bit of course...lol.

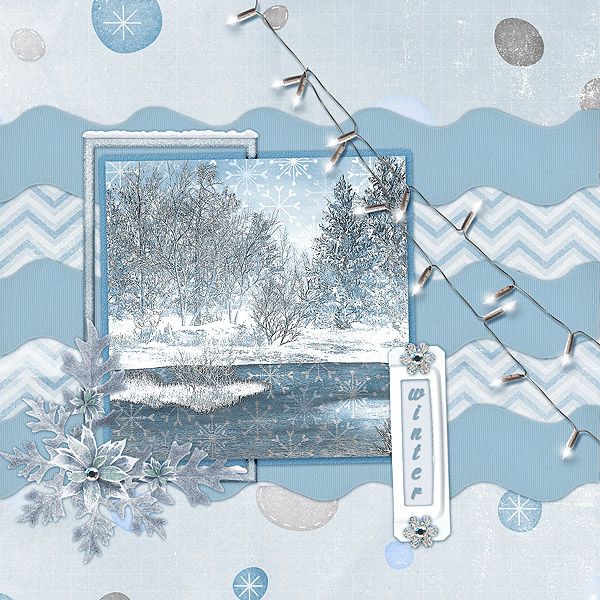
It's time for this week's challenge at Digitally Sweet Challenges and guess what? I'm the challenge hostess this week for an Anything Goes Challenge! Our sponsor is Stitchy Bear Stamps and I used a winter scene digi stamp:


The above is a digital image I created in Photoshop. I used the Lake Winter digi stamp by Stitchy Stamps at Stitchy Bear Stamps and a freebie digital scrap kit by Digilicious Designs to create this peaceul winter scene. I'm not a big lover of snow but I can appreciate a good winter scene...lol. Thanks for having a look this week and hope you will join us for this week's challegne at Digitally Sweet!

SUPPLIES USED:

Lake Winter digi stamp - Stitchy Bear Stamps
Winter Wonderland free Digital Scrap Kit - Digilicious Designs

26 November 2014

#277 Embossing Challenge

Hi all...it's time for a new challenge over at Crafty Creations Challenges! I hope you will join us this time around and enter your creation using some type of Embossing. Our wonderful sponsor this week is Beccy's Place and you could have a chance to win some lovely images from her too.

Here I used 2 different types of embossing, dry embossing with an embossing folder and embossing powder with a heat gun.


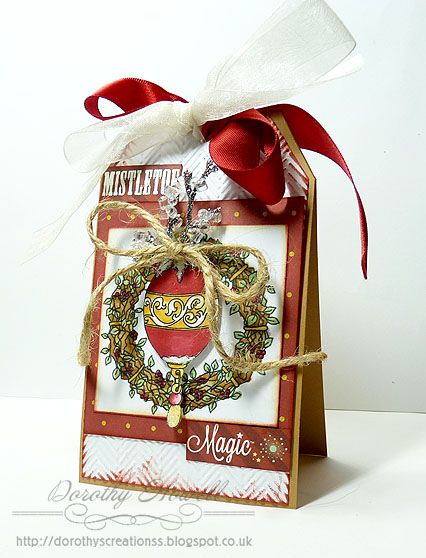
I made a tag shaped card with buff cardstock which is similar to kraft. I cut out a tag shape in white to go on after I ran it through my Cuttlebug with a chevron embossing folder. On top of that I added designer paper from My Mind's Eye along with the sentiment trimmed off that same paper. I colooured the wreat digi stamp and the ornament digi stamp with my Copic Ciaos and on the ornament's white bits, I added some clear glitter embossing powder which raised up a bit and sparkles. To "hang" the ornament I added some little crystal branches and a jute bow. LAstly I topped the tag with red and sheer white ribbon.

SUPPLIES USED:
Wreath & Ornament Digi Stamps - Beccy's Place
Red with gold dots background paper - My Mind's Eye Mistletoe Magic 12" x 12" paper set
Distress Ink in Fired Brick and Antique Linen
Cuttlebug Embossing folder - Chevron
WOW Embossing Powder in Clear Sparkle
Nutscene Jute Twine
Crystal branch taken from a larger Chriatmas sprig £1.00 at Asda
Red and white ribbons from stash

24 November 2014

Bearly Mine Inspirational Post

I know I know...I'm a day late with my Inspirational Post for Bearly Mine Designs Challenges. I had it all set up to go for TODAY only I'm a day late...UGH. Ah well I'm all posted now right? LOL.

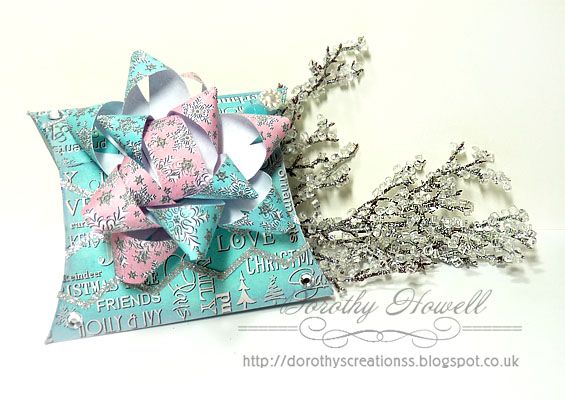
I created this pillow box with handmade bow for a cute christmas wrapping out of the lovely digital creations of Bearly Mine Designs.

I used the Christmas Ice paper kit which you can purchase HERE.


This box turned out so cute! I started off with a pillow box template that I downloaded from the Box Template Store.com. I printed it and cut it out from thin cardstock as a template. Then I printed out one of the word Bearly Mine designer papers in ice blue on the same thin card. On A4 sized 100 gsm paper, I printed out a sheet of half pink snowflake and half blue snowflake papers from BM as well. I traced the template on the back of the worded paper, cut it out and folded it all together. I did NOT cut the slot for the tab at first but waited until I folded the box up as I wanted to make sure it lined up properly which was a good thing because the slot and tab to close the box DID NOT line up properly so I marked it lightly with a pencil and cut the slot then sharpened the creases of my folds so the box was sturdy. I also distressed all the edges in Spun Sugar Distress Ink. On the outside of the box, I added silver glitter chevrons and silver gems for a bit of bling.

For the bow, I cut 3/4" strips of the A4 snowflake papers then I looped them and attached them onto a small brad alternating layers. I liked the look of mixing the pink and blue. I distressed these with Spun Sugar as well.In the upper right corner behind the bow you can sort of see the stick pin I made to stick on there.

SUPPLIES USED:
Christmas Ice paper kit - Bearly Mine Designs
Pillow box template - Box Template Store
Silver Glitter Chevron sticker - Paper Cellar (from my stash)
Silver Gems from stash
Distress Ink in Spun Sugar
Long pin and beads from stash
Related Posts Plugin for WordPress, Blogger...